What to Expect
When You Register
As soon as you register for one of our rides, you will receive our Rider Info Kit. This is an extensive document, and goes over how to pack, how to make sure your bike is ready for the ride as well as a training outline for you. We go over the logistics of where to park during the ride, suggested hotels in Fruita, the best ways to ship your bike, etc. This is a big trip, it takes a lot of preparation on your part, and we are here to help.
Basically, we have tips and tricks for every step of the process to help you maximize your experience. We have been doing this for 20+ years, so rest assured we know what we are talking about and we can help you prepare for this adventure!
On Trail
We start every day with a thorough route briefing, accompanied by a large, detailed map of the day’s section of trail. This is not a race, and we are not trail with you, so enjoy the ride at your own pace! We give every ride an identifying sticker to put on their helmet, so it’s easy to spot one another on trail. Usually riders of similar skill level or speed find and ride together.
The staff will meet you at the aid station, where we will have another map for the afternoon’s section of trail. We bring fresh water to re-fill your hydropack and bottles, and provide lunch. There are no potable water sources on the trail, so be sure to fill up in camp and aid stations.
The weather in May is typically mid 70’s-80’s, and gets cooler as you ride higher. When we drop into Moab it heats back up and can be in the low 90’s. Nights are brisk, perfect for camping.
The Terrain
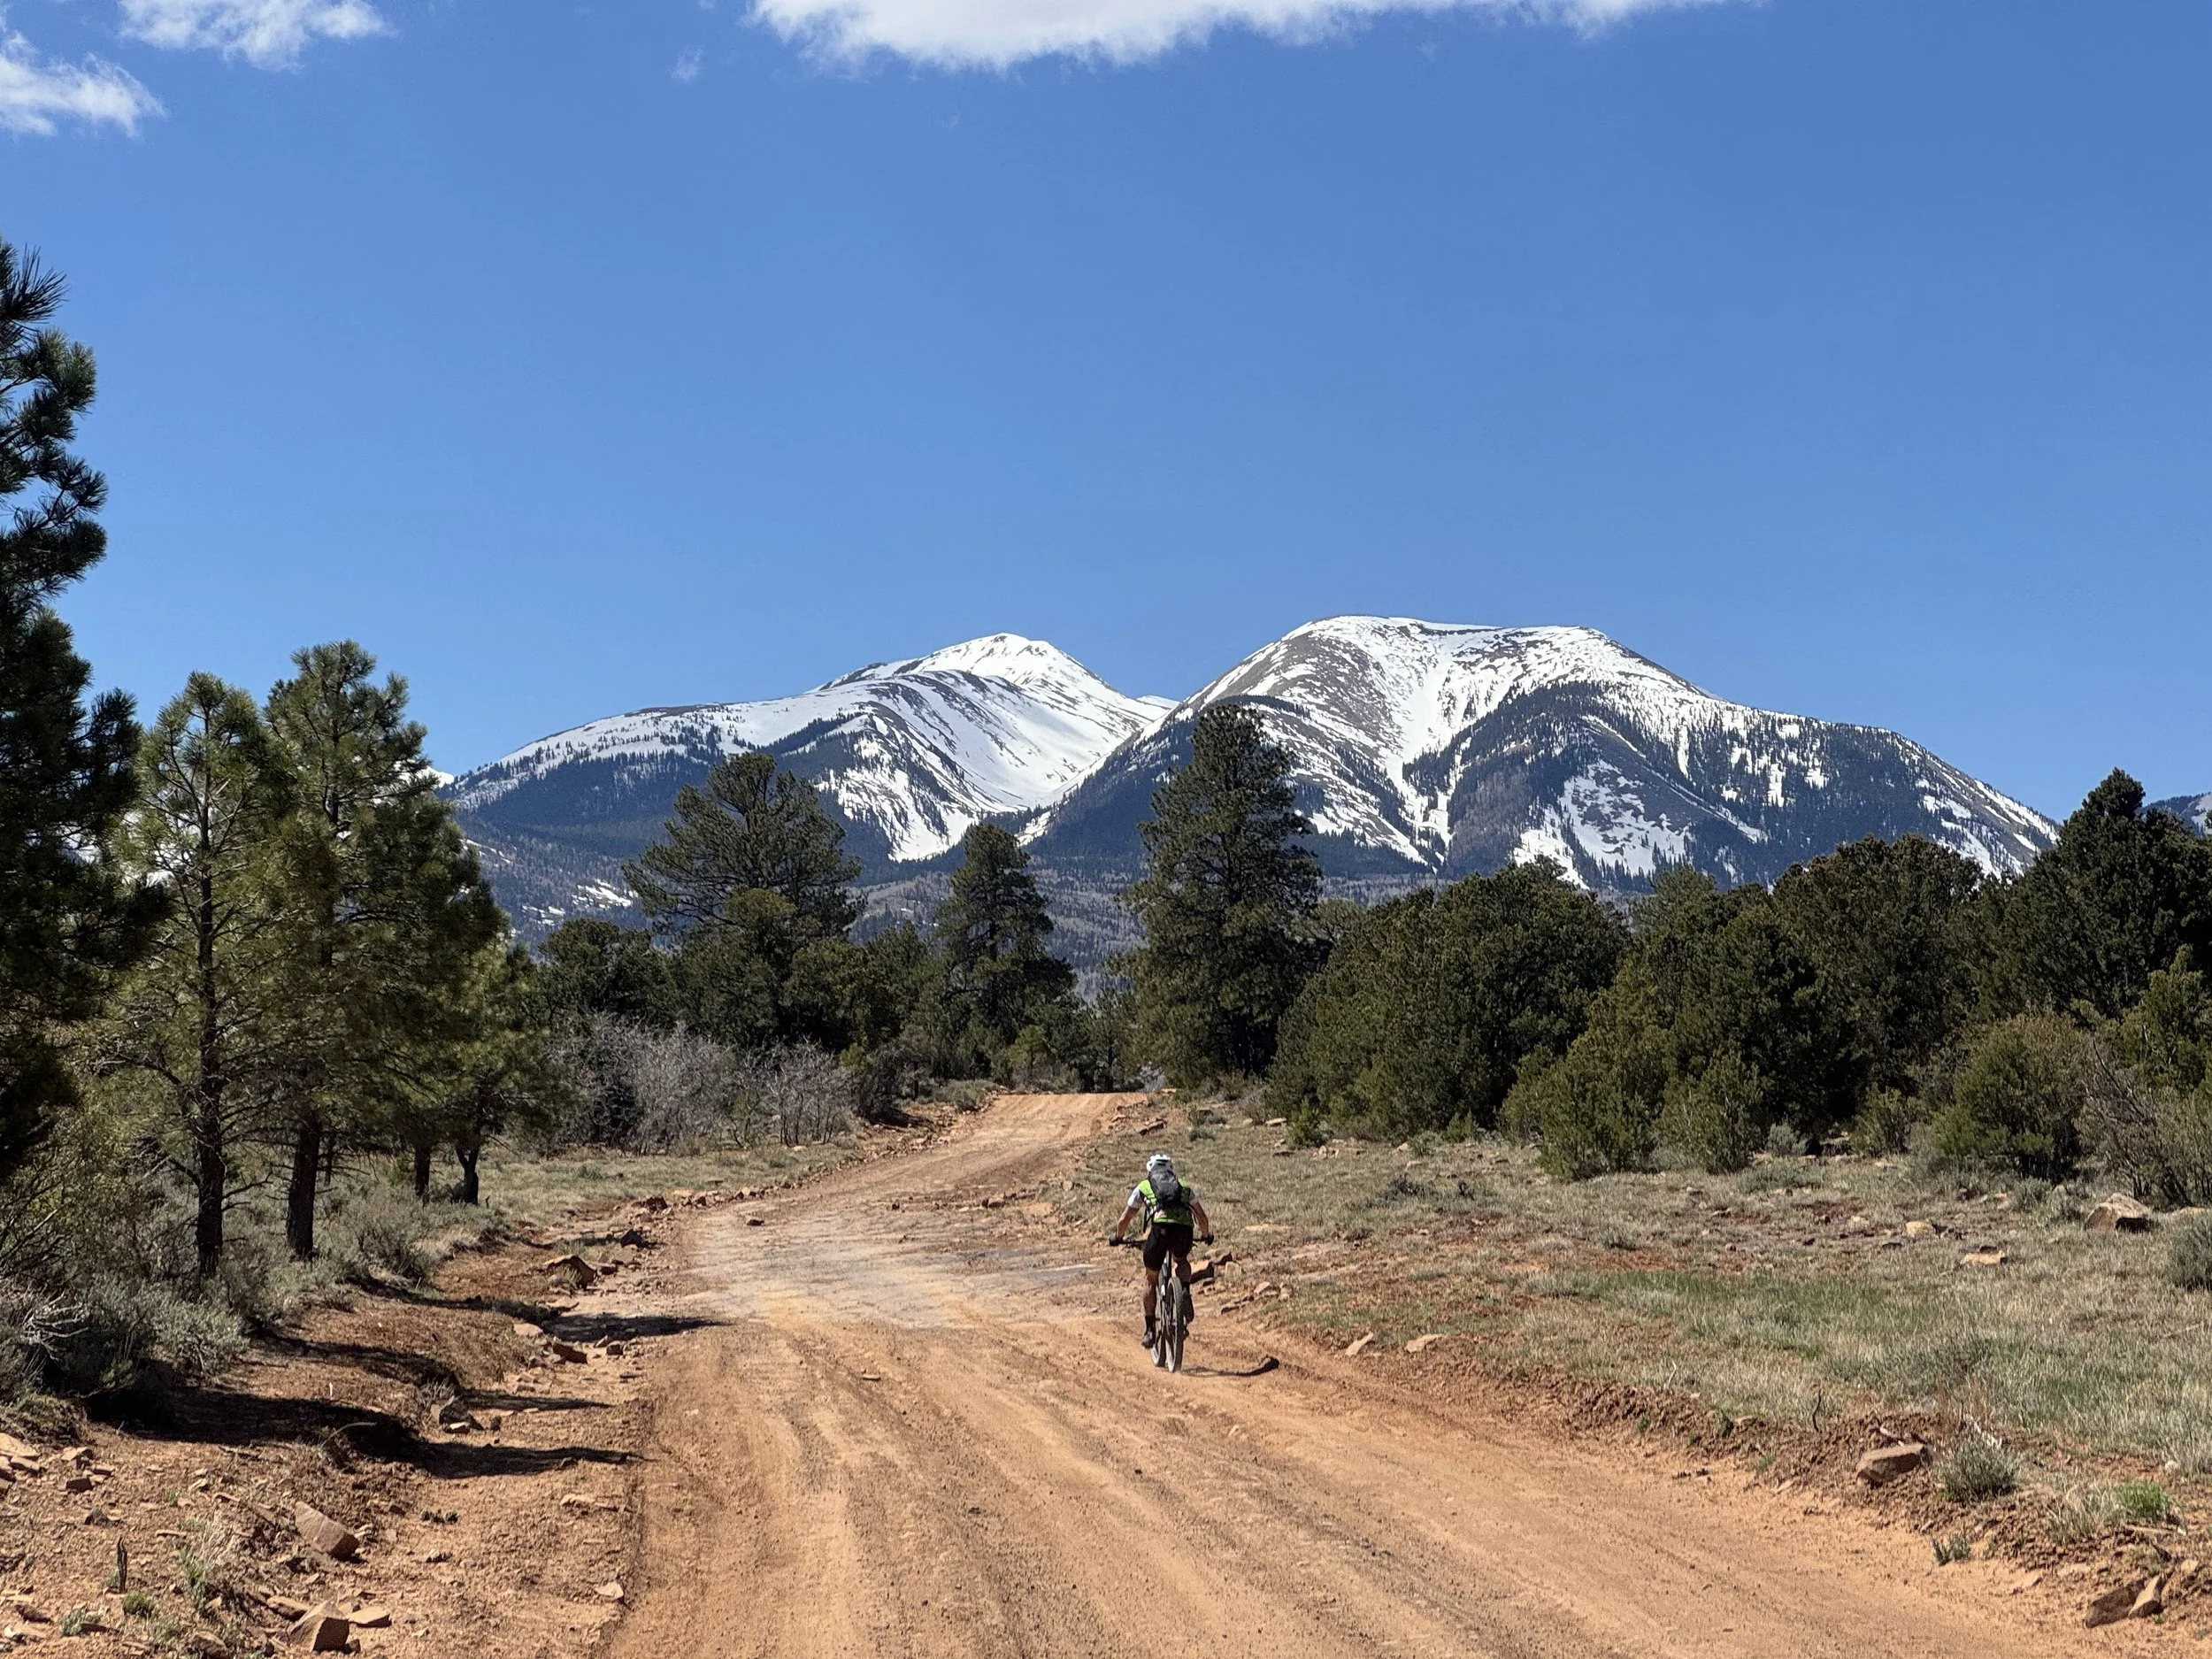
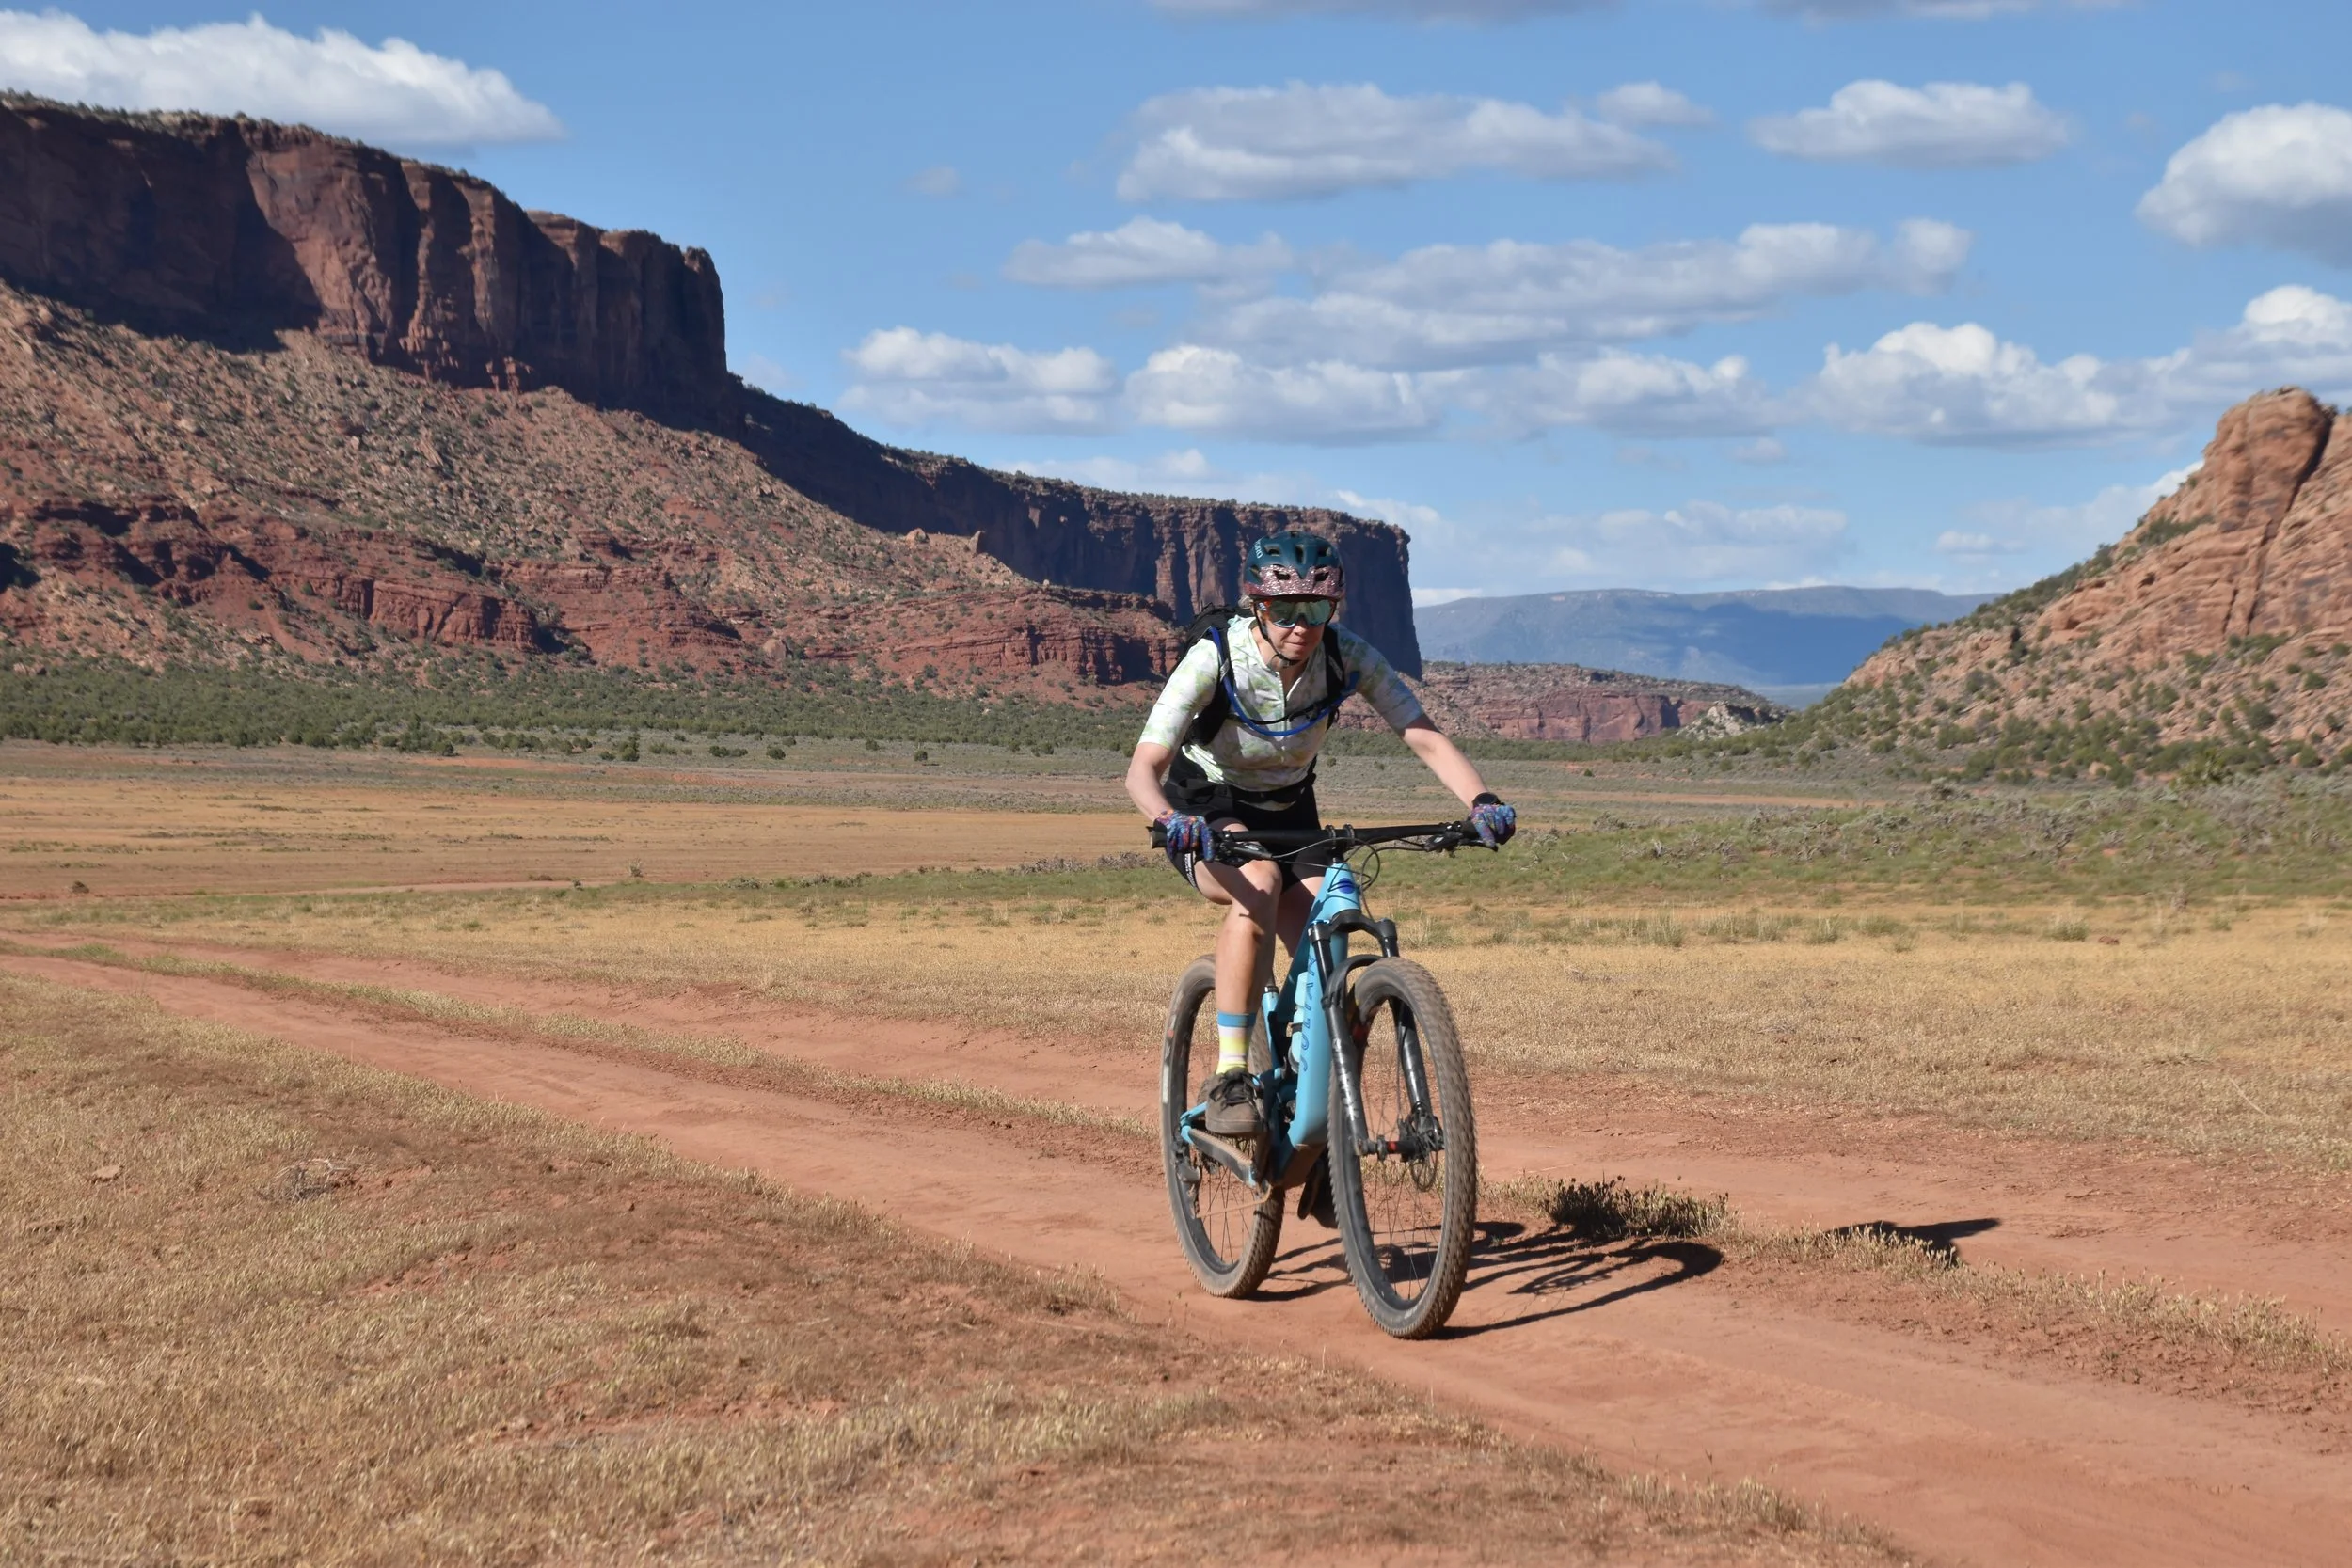
The terrain is classic Colorado Plateau and will vary frequently. Those familiar with Moab riding will feel right at home, those new to the area will encounter trail surfaces unlike anything they’ve ever seen. It varies from serene and meandering to steep and rocky, to hardpacked and flowy. And we won’t fib- there are some hike-a-bikes thrown in there to keep you on your toes, and a couple hills that will challenge your endurance (you got this).
The trail changes with the weather; sandy conditions or a headwind can change the difficulty from one day to the next. Be prepared for varied weather, terrain, and trail conditions— but hey, this is mountain biking and wouldn’t be an adventure if it were easy!
Day 1 you’ll start off skirting the Colorado River, following increasingly technical singletrack on hardpack and occasional slickrock. Later that day, Kokopelli climbs out of the Salt Creek area to gentle hills and rolling jeep trails past enormous entrada formations reminiscent of a moonscape from a Dr Seuss book.
Day two drops into the Cisco desert, a less colorful section passing a ghosttown frozen in time and the historic Dewey Suspension Bridge, once the only passage across the Colorado but unfortunately now just a burnt reminder of what used to be. The Kokopelli climbs through sage & juniper forests into Fisher Valley, passing through several canyons and a slickrock playground for those willing. This is a magical section with a challenging climb and descent.
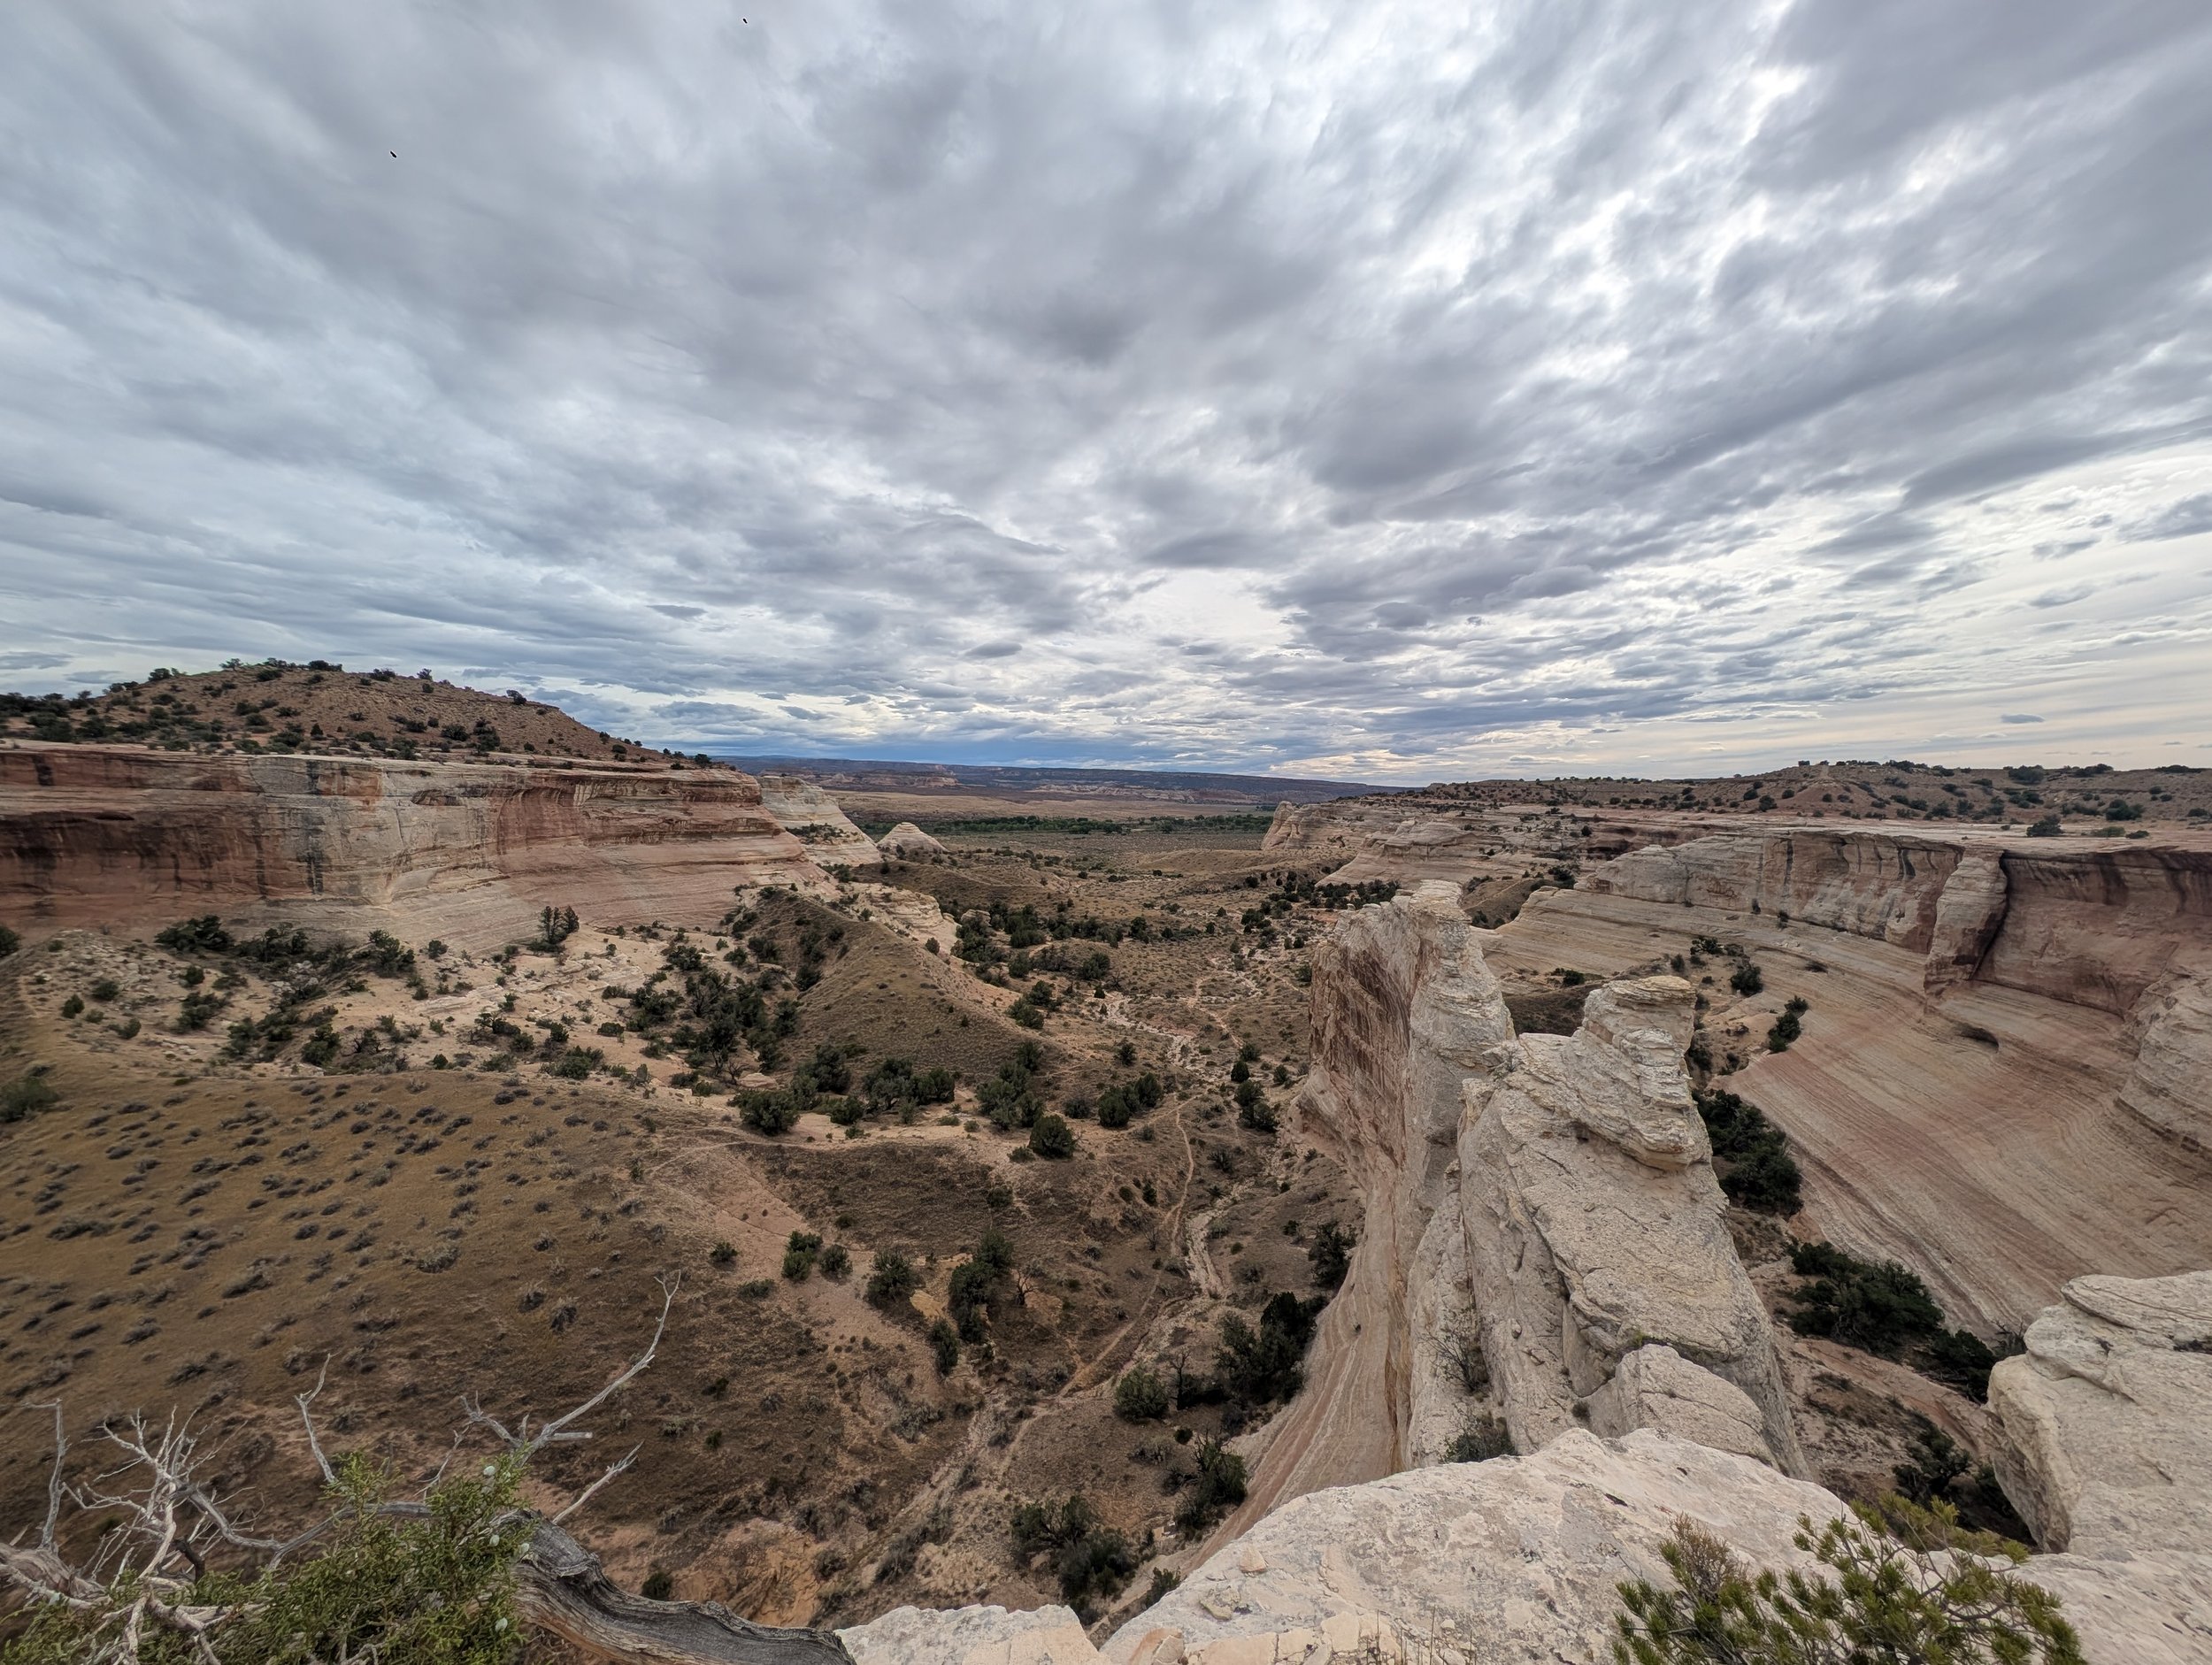
Day 3 carries the riders up extended scenic climb into the pine & aspen forests of the La Sals Mountains and over Castle Valley. From the summit, the views of nearby Moab are spectacular and it’s all downhill from here! Descend through rollercoaster-like singletrack towards Sand Flats Road and choose your own adventure for the finale:
Sand Flats Road is the traditional, casual descent past the Slickrock trail
The Raptor Routes are the newest addition to the area, and are Type 1 fun, flowy single track basically the whole way down!
Porcupine Rim, for those feeling strong, is a daring descent (with considerable uphill along the way), a longer, more challenging and much more remote option.
We provide detailed descriptions of each day in our morning briefing, this is just an overview to get you stoked!
Routefinding
Routefinding: The entire trail is marked at every junction, and we provide proprietary GPX files that mark our aid stations and camps on trail, as well as go over all all options in our daily route briefings.
This is a long trail, and it is essential that each rider carry a map or GPS (or both) and know how to use it to avoid getting lost.
Difficulty
Rating the Kokopelli is tricky as the trail varies so much over its 142 miles.
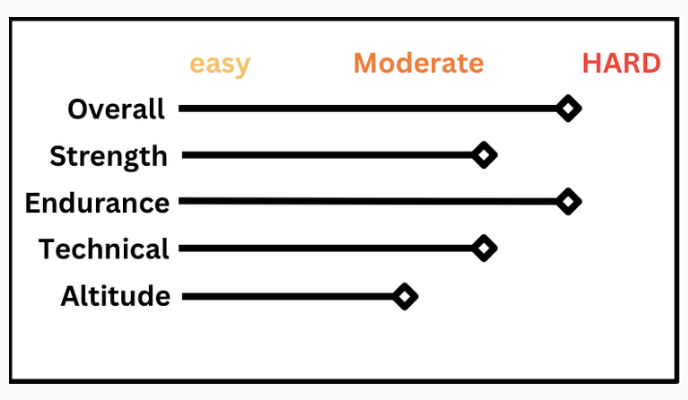
Technical skill – 6 (how well you can navigate tricky trail)
Strength – 7 (how much pedaling power you can generate)
Endurance – 8 (how long you can sustain that power)
Please note that these are averages, not peak difficulties. There are some very technical pieces but they are short enough to walk (and most riders will hike-a-bike at least once or twice). Without respectable technical ability you’ll find yourself walking quite a bit, especially on day one.
This is REAL MOUNTAIN BIKING, you should be comfortable riding narrow singletrack, slaloming large “babyhead” rocks in your path, and also good at negotiating 6-15″ ledges & steps. The trail isn’t terribly difficult as a whole, but doing it in only three days is. This is a challenging ride -you will be incredibly proud when you finish it- but don’t approach it thinking this will be a cake walk.
Remember that every rider has different abilities and tolerances, and one rider’s 8/10 might be another rider’s 5/10. Know your ability and train for the areas you are less secure in. Our Rider Info Kit includes a training plan for those riders who would like an outline to follow before riding the Kokopelli.
If you train, you will have a blast!
Safety
This is our number one concern. While we take extensive precautions when planning these rides as the best risk management is prevention. We have a rigorous sign-in and sign-out protocol at our camps and aid stations so that we know where every rider is at all times, and we will use cut-off times if necessary to avoid any rider being caught out after dark.
Every rider is expected to have the ability to complete the trail and be self-sufficient between camps & aid stations, but we of course have the means to evacuate riders from Kokopelli in case of an emergency. This is a safety net, NOT an escape from a difficult hill or flat tire.
In the field staff use InReach Devices as well as satellite texting to communicate when we are out of service.
Shuttles and Sag
We have optional shuttles on Days 2 and 3 to eliminate some serious elevation and make both of those days more approachable for the average rider. Details on shuttles will be in the Rider Info Kits that are sent out to registered riders.
We also have a SAG wagon, which is always an option in camps and aid stations for riders wishing/needing to skip a section of the trail. It does not follow riders on trail, and is NOT available mid-trail, so the decision to sit out a section must be made in advance.
This is meant as an option to make this ride less intimidating and more accessible to a wider range of riders, but is not designed to be used by every rider at the same time (as there are 90 of you, one van just won’t fit you all!). This is also used for riders arriving too late into aid stations to complete the afternoon section of the trail before dark. The Ride Manager will keep an eye on everyone’s pace and let you know if you should probably SAG.
Got Questions?
We’ve Got Answers
-
Nope, not on this trip, sorry. Several sections of the Kokopelli do not allow E-bikes, and our support does not include charging or shuttling E-Bikes.
-
Expect to be in the saddle an average of 6+ hours per day. You’ll receive a training guide in the Rider Info Kit after you register that will help you prepare and know what to expect.
The #1 comment we hear from riders is, “if I knew it was this hard I would have trained. more” So here it is – More training = more fun on trail!
-
Road riding skills are great for training but they don’t necessarily transfer to MTB. Mountain biking is a different skillset that gives you a big edge in efficiency – for example, how well you can roll steps, handle aggressive turns, braking & acceleration plus overall balance in tricky terrain. Having those skills will pay off in the desert in a big way.
The trail has caught plenty of experienced roadies off-guard. This is real mountain biking and if you don’t have a solid technical base it’ll slow you down quite a bit, especially on day 1. Yes, of course you can walk the tech sections, but that’s no fun.
As an experienced road rider you’ve already got a solid foundation in training. We recommend building on that with 10-20 hours of pre-season technical rides. This will make a huge difference on the tech sections of the trail and your overall efficiency across 150 mi.
-
No, we are not on trail with you. THIS IS NOT A GUIDED TOUR.
Bikerpelli is a self-paced and navigated adventure ride, for which we give you all the tools in our Rider Info Kit and in our daily route briefings,
-
We set up fantastic camps in the backcountry with all the group amenities, you just need a typical camping set up: tent, sleeping mat and sleeping bag. Be ready for sweeping views, stunning sunsets, cozy campfires and all the food and drink you crave at the end of a long day in the saddle.
-
Home cooked, hearty and healthy! Breakfast and dinner are hot, and always have fresh salad or fruit so it’s not all carloading. Lunch in the aid stations is light enough not to make you need a nap, but substantial enough to keep you rolling all afternoon. We have coffee and tea in the a.m, electrolytes (and pickle juice!) in the aid stations, and a variety of ice cold beverages in camp (as well as cocoa if it’s a chilly night). And water! So much water. You will not get dehydrated on our watch.
We are happy to accommodate dietary limitations (GF/DF/Veg/Vegan/etc) just let us know in advance!
-
We have only had to cancel this ride due to weather once in 20+ years. That’s not to say it will never happen. Our priority will always be the safety of our riders and staff, and if the weather is bad enough as to put anyone at risk, or if the trails are closed due to weather, we will have to reroute o the best of our ability or cancel altogether.
We purchase an insurance plan that covers the registration fees if we were to cancel IN ADVANCE of the ride starting, but once we have started riding if we have to cancel there are no refunds. Outdoor events are always an adventure!